A Ridge-to-River Walk with a Paper Map
Use a paper map on a familiar ridge-to-river walk to read slopes, crossings, and settlement patterns, and understand why paths bend through the landscape.
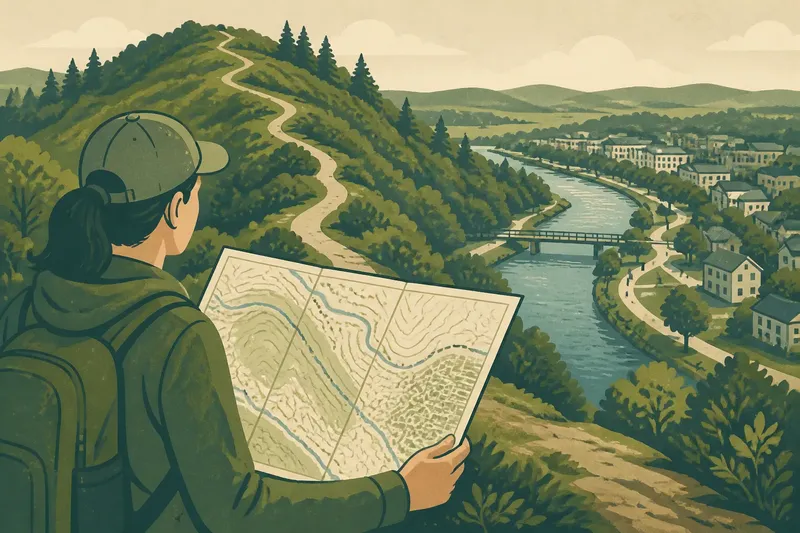
A paper map makes a familiar ridge-to-river walk easier to read: it shows how high ground, slopes, waterways, and paths relate. Follow a route you already know, and compare its bends and crossings with the landscape rather than treating the map as turn-by-turn directions.
The aim is to notice relationships that can be easy to miss while concentrating on reaching a destination. A folded map is like a kitchen drawer organizer: it makes useful patterns easier to see, but it does not decide what you should do next.
Choose a familiar route that links high and low ground
Pick a walk you already know, ideally one that passes a noticeable rise and a stream, river, or waterfront. A neighborhood loop with a hill above a creek works as well as a longer trail. The route does not need to trace a straight line between the two.
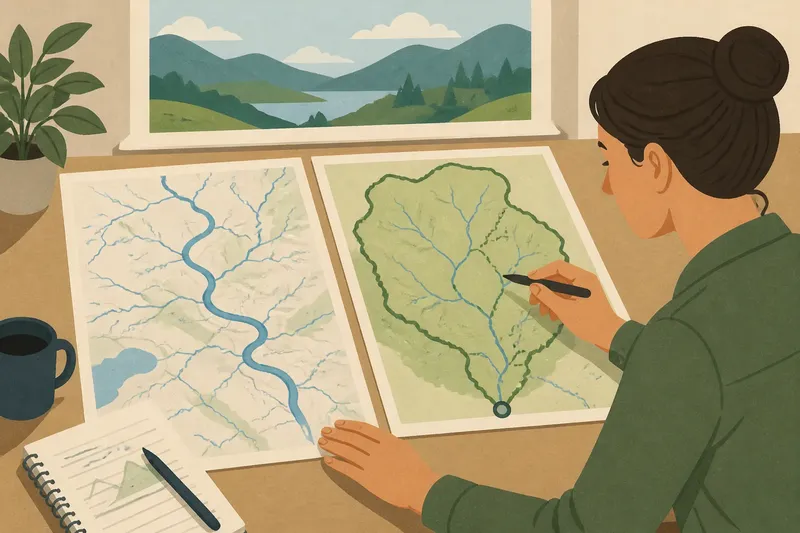
Before setting out, locate the ridge or high ground, the waterway, and the path on the paper map. Look for bridges, parks, road crossings, and clusters of buildings you recognize. These features can help you connect your position to the landscape without turning every bend into a navigation problem.
Choose a map that shows streets or trails and the main landforms clearly enough to compare. If it is an older printed map, check whether major roads, trail access points, or public paths have changed. Keep your usual navigation and safety practices; this observation plan is not a substitute for directions or current access information.
Use the week before the walk to build a simple map key
Spend a few brief moments with the map on separate days rather than trying to memorize it all at once. Trace the route with a fingertip and mark places where you expect a change in height or a view toward water. A removable note or pencil mark in the map margin can help without covering important details.
Identify the symbols you will need: contour lines, water features, bridges, trails, and built-up areas. Contour lines are clues to shape, not pictures of a hill. Lines that crowd together indicate a steeper slope than lines spaced farther apart.
Before you walk, use these checks to decide what to observe:
- Check where the route crosses contour lines; if they bunch together, expect a steeper section and observe how the path handles it, but do not leave the route to test a shortcut.
- Check whether the map places water near a high viewpoint; if the water is visible, note its direction, but if it is hidden, record that and look for trees, buildings, or an intervening rise from a permitted viewpoint.
- Check whether paths or streets run across the slope; if they do, watch whether they traverse the hillside, but if they climb directly, compare the ground’s steepness without assuming why the route was built that way.
- Check the map for bridges and low points; if a crossing lies on your familiar route, observe how paths meet it, but if it is inaccessible or closed, stay on the public route and use another established viewpoint.
- Check where buildings and open spaces sit in relation to the ridge, slope, and water; if they cluster on flatter ground, note the pattern, but if the map and view differ, record the mismatch instead of forcing an explanation.
- Check the map’s trail and road access against current signs; if the route is open and permitted, follow your normal plan, but if access is unclear or restricted, choose a known public route instead.
These checks are prompts, not a scorecard. “I cannot see the river from here” is a useful observation when the map shows water nearby.
Walk the ridge before interpreting the view
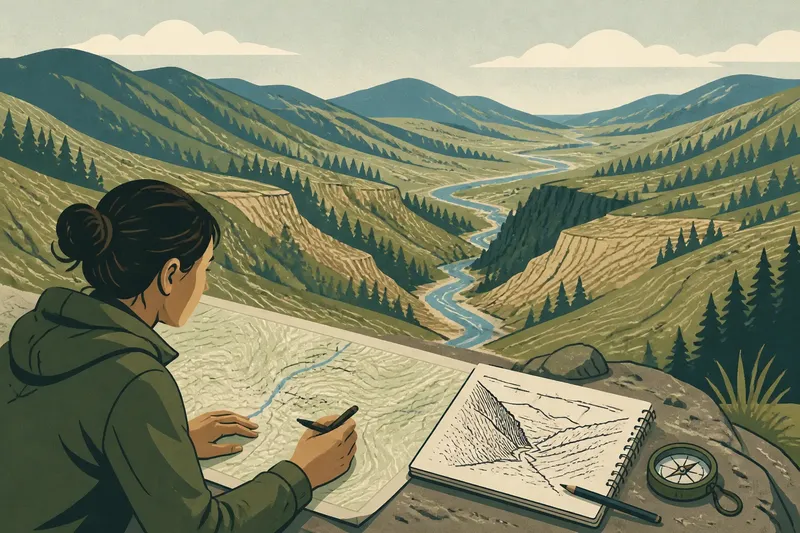
Begin on the familiar route and pause where the ground rises or opens out. Compare the land underfoot with the map: does the path climb steadily, follow a shoulder, or reach a flatter crest? Notice whether the ridge is a narrow high line or a broad area of gently raised ground.
Look outward without assuming the waterway must be visible. Trees, buildings, and the shape of the slope can block a view. If the river appears, note whether it lies directly below, beyond another rise, or off to one side; that relationship may help explain why a road or path follows a particular direction.
At a safe pause, jot a few words beside the relevant map feature. “Open view east of park” is more useful than “nice view” because you can compare it with the map later. Avoid stopping where you obstruct other walkers or stand near traffic.
Follow the slope as a connection, not a shortcut
As the route descends, notice how the terrain shapes the path. A trail may curve along a hillside to avoid a steep grade; a street may run diagonally toward a gentler crossing. A flatter bench on the slope may hold a park, homes, or a path, while a sharper section may remain wooded or undeveloped.
Compare those observations with contour spacing and the placement of paths and buildings. The map can suggest why a route bends, but it cannot tell you every reason: property boundaries, drainage works, or later construction may also shape what you see. Keep your explanation tentative until the visible evidence supports it.
Imagine your familiar walk descends from a wooded ridge toward a creek-side park. The map shows a trail bending across closely spaced contours before it reaches a bridge, and the path feels less steep than a direct descent would. You note the traverse, then check from the public path whether the bridge and park sit where the map indicates; the resulting comparison supports a possible link between the bend and the slope, without proving why the trail was built that way.
Let the waterway explain the lower ground
Near the river or stream, observe the ground around it rather than focusing only on the water. Is the path on a broad, level strip, or does the land rise sharply from the bank? Do roads and buildings approach the water, run parallel to it, or stop short? These patterns can show how the waterway and surrounding terrain influence movement and settlement.
Look for crossings as points of connection. A bridge may gather routes from both sides, while a path along the bank may connect parks or neighborhoods without crossing the water. Compare these links with the ridge route: does the walk descend toward a crossing, or reach the water where the route turns along the bank?
Water levels and vegetation can change what is visible from one visit to another, so note what you actually encounter. Do not leave a public path to reach the bank or cross a barrier for a better view. If access is unclear, follow posted guidance and use an established public viewpoint.
What map questions help explain a ridge-to-river walk?
How can contour lines help on a familiar walk?
Use contour lines to compare the relative steepness and shape of nearby ground. Their pattern can help explain a climb, a hillside traverse, or a flatter area, but it does not describe every feature underfoot.
What if the river is hidden from the ridge?
Record that it is hidden and look for a likely reason from a permitted viewpoint, such as trees, buildings, or an intervening rise. The map can show proximity without promising a clear line of sight.
Should the route follow the map’s shortest line?
No. Keep to a familiar, permitted route and use the map to interpret the landscape around it. A direct line may cross steep ground, private property, or places without a safe path.
What if the map and the visible route differ?
Note the difference rather than forcing the landscape to fit the print. Maps can omit newer paths or show features that have changed; rely on current signs and access information for route decisions.
Review the walk later in the week
After the walk, unfold the map and revisit your notes while the landmarks are fresh. Trace the sequence you observed: high ground, slope, lower ground, and water. Mark one connection that became clearer, such as a path following a contour or a bridge linking two neighborhoods.
Separate what you saw from what you infer. “The street runs along the hillside” is an observation; “it was built there to avoid a steep climb” is a possible explanation, not a certainty. Keeping those apart makes the map more useful the next time you walk.
If you repeat the route, choose one new detail to watch for, such as where a side path meets the main trail or how settlement patterns change nearer the water. A ridge-to-river walk with a paper map becomes more revealing when you return to ordinary landmarks with a sharper question and compare the printed route with the ground you can actually see.